....and WHERE are those cats when you need them??
 It figures.
Here's the mouse:
 It's a little blurred because it's so tiny (and I got too close with my camera, eeeek). This little mouse is approximately 1/8" high and about 1/4" long. I stitched the body of the little guy with 2 strands of Glory -- and whenever you stitch with two strands of floss, it's really important to "lay" your threads so they will be perfectly parallel. The color I used is Glory #147, a very pale wedgewood blue. I'm not into gray mice. I could have stitched the mouse in pink or baby blue, but this color works well.

So if you want to tuck a little mouse into your embroidery, just draw a little teardrop shape and flatten it out on the bottom. There's a little red pile of floss over there on the right; we'll talk about that in a minute.
Double your Glory floss in a #5 milliners needle and fill his little body with horizontal satin stitches. (If I wanted a mouse with a bigger bun, I might have added extra vertical stitches or a bullion at the parking end.)
Next, thread up Glory #206 (black). Make a 2-wrap French knot for his nose and a 1-wrap French knot for his little eyeball. You could substitute a size 14/o seed bead if you like your mice to have sparkly eyes.
The tail of the mouse is stitched with very tiny Brazilian outline stitches -- floss held below the line of stitching when using Z-twist floss for that smooth, even line, and remember -- the smaller the stitch the neater the line.
OK. Mouse is done.
The little red (Glory #009 - shaded tangerine) shape will be a ladybug. Stitch her in the same manner as you did the mouse, but make a 2 or 3-wrap French knot for the nose and for her spots add very tiny (over one strand of floss) seed stitches - itty bitty stitches.
 Here they are, both finished. I hope - if you like garden vermin (--oops, er... I meant critters. CRITTERS.) in your embroidery, pop them in little hidey places. They add interest to your work and people will enjoy them for long enough that they will soon ask, "What IS that?" and when you say, "Brazilian dimensional embroidery," they will be super-excited for you to teach them how to do it.
Here's the finished mouse and ladybug, not quite the same scale, but the mouse is a VERY little mouse. (And remember, they do NOT have to be gray)
 I STILL can't get Cuthbert to pay attention. Some mouser HE is....
 This cat has NO guilt.
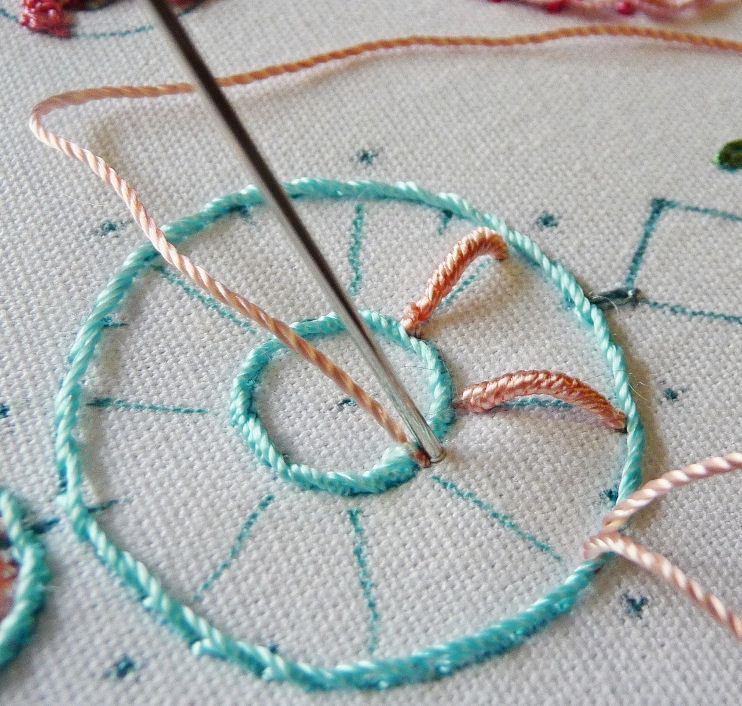
Well, I'll bet you would like to see another Brazilian dimensional embroidery design. This is a design called "Meowsers" and will be taught by Mary-E. Crichton and Gayl Ratigan at our 2013 BDEIG Seminar next June. This is a great class, especially for anyone who wants to learn the basics of Brazilian embroidery -- including lots of tips and hints and a separate little booklet written by Gayl Ratigan that you won't find anywhere else; it's filled with helpful B.E. information. Be sure to check the BDEIG website often; seminar classes will be featured in the February, 2013 issue of our newsletter, The B.E. Wrap-Up.


Here's the mouse:


So if you want to tuck a little mouse into your embroidery, just draw a little teardrop shape and flatten it out on the bottom. There's a little red pile of floss over there on the right; we'll talk about that in a minute.
Double your Glory floss in a #5 milliners needle and fill his little body with horizontal satin stitches. (If I wanted a mouse with a bigger bun, I might have added extra vertical stitches or a bullion at the parking end.)
Next, thread up Glory #206 (black). Make a 2-wrap French knot for his nose and a 1-wrap French knot for his little eyeball. You could substitute a size 14/o seed bead if you like your mice to have sparkly eyes.
The tail of the mouse is stitched with very tiny Brazilian outline stitches -- floss held below the line of stitching when using Z-twist floss for that smooth, even line, and remember -- the smaller the stitch the neater the line.
OK. Mouse is done.
The little red (Glory #009 - shaded tangerine) shape will be a ladybug. Stitch her in the same manner as you did the mouse, but make a 2 or 3-wrap French knot for the nose and for her spots add very tiny (over one strand of floss) seed stitches - itty bitty stitches.
Here's the finished mouse and ladybug, not quite the same scale, but the mouse is a VERY little mouse. (And remember, they do NOT have to be gray)


Well, I'll bet you would like to see another Brazilian dimensional embroidery design. This is a design called "Meowsers" and will be taught by Mary-E. Crichton and Gayl Ratigan at our 2013 BDEIG Seminar next June. This is a great class, especially for anyone who wants to learn the basics of Brazilian embroidery -- including lots of tips and hints and a separate little booklet written by Gayl Ratigan that you won't find anywhere else; it's filled with helpful B.E. information. Be sure to check the BDEIG website often; seminar classes will be featured in the February, 2013 issue of our newsletter, The B.E. Wrap-Up.

I hope you are enjoying these designs and the information is helpful. Write any time if you have questions. Thanks for reading!
Rosalie